Why Smart Thermostat Installation is Your Gateway to Energy Savings
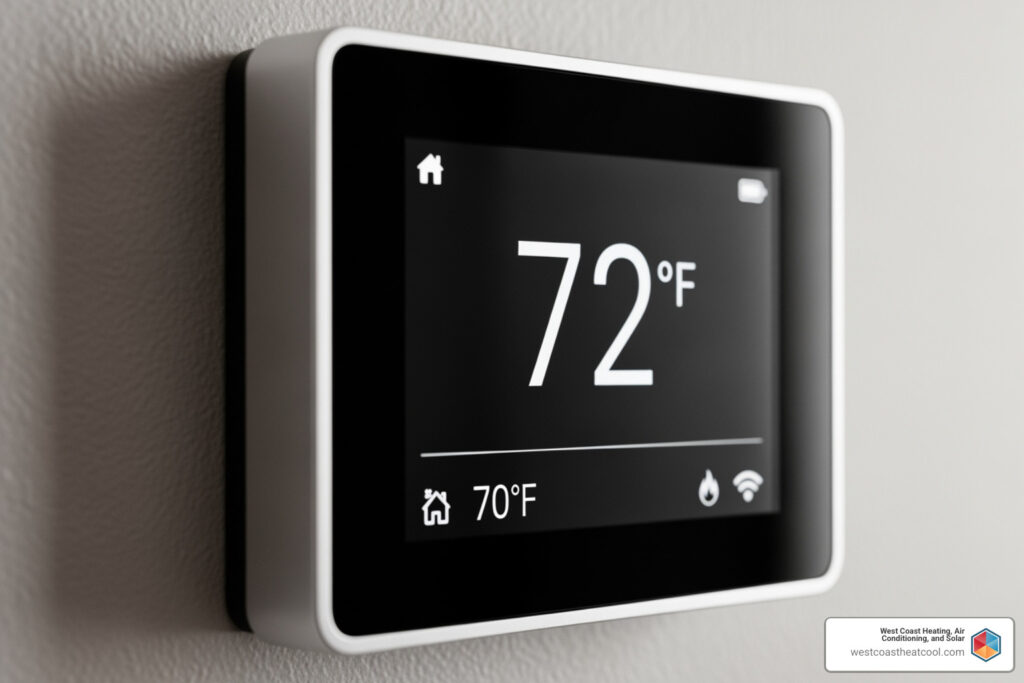
Smart thermostat installation can save you up to 15% on heating and cooling costs while giving you remote control over your home’s comfort. Most homeowners can complete this DIY upgrade in under an hour with basic tools, seeing immediate benefits in convenience and energy savings.
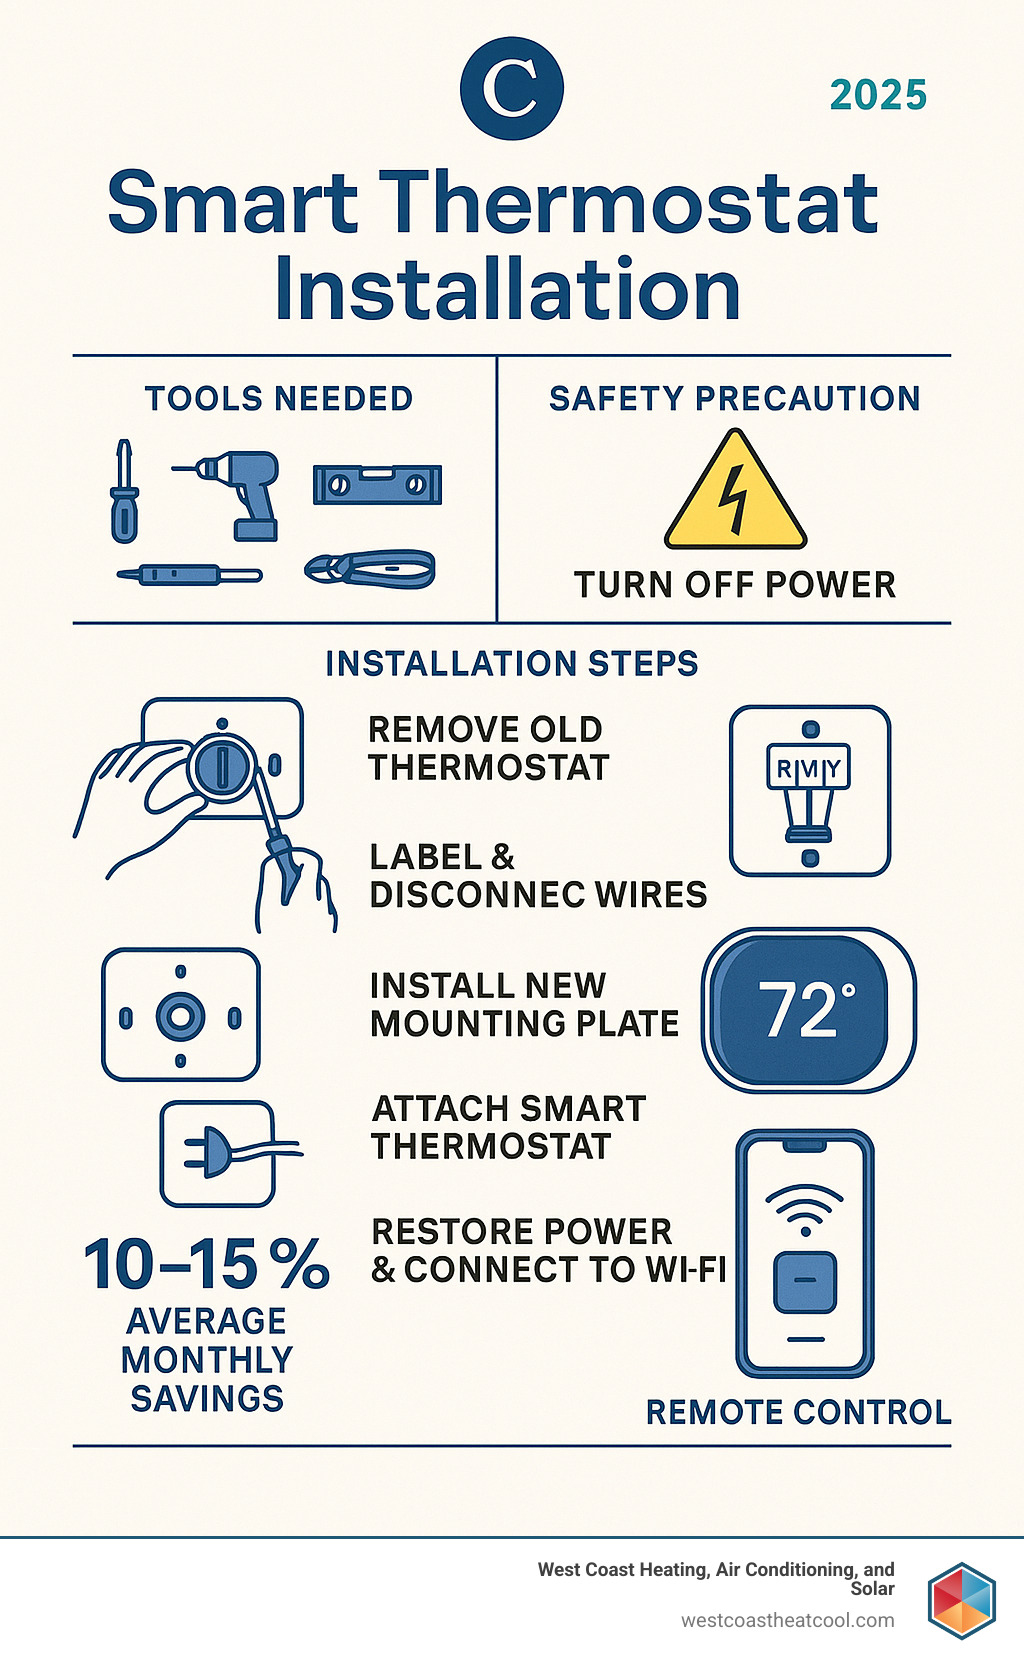
Quick Installation Overview:
- Turn off power at the circuit breaker
- Remove old thermostat and photograph the wiring
- Label and disconnect existing wires
- Install new mounting plate and connect wires
- Attach smart thermostat and restore power
- Connect to Wi-Fi and complete app setup
With rising energy costs in San Diego County, smart thermostats offer a solution that pays for itself. They learn your routines, adjust temperatures when you’re away, and track energy use to optimize your HVAC system’s performance.
The installation is straightforward for most homes. You don’t need to be an electrician or technician to install a smart thermostat, according to Consumer Reports experts. With proper preparation, this is an easy DIY win. However, homes without a C-wire or with high-voltage systems may require professional expertise for a safe installation.
Preparation: What to Know Before You Begin
Proper preparation is the foundation for a successful smart thermostat installation. Before you begin, it’s crucial to check your system’s compatibility, gather your tools, and confirm the best location for your new device.
Is Your HVAC System Compatible?
First, confirm if your HVAC system will work with a smart thermostat. Most are designed for low-voltage systems (24V AC), which are found in about 85% of homes with a standard furnace, central air, or heat pump. These systems use thin wires.
However, if your thermostat has thick wires with wire nuts or labels like “L1” or “L2,” you likely have a high-voltage system (e.g., electric baseboard heaters). These are not compatible with standard smart thermostats and attempting to install one can be dangerous.
Heat pumps and multi-stage systems (those with multiple heating/cooling levels) also have specific requirements, so ensure your chosen thermostat supports these features.
Before buying, use a manufacturer’s free online compatibility checker. Check compatibility with an online tool to prevent headaches later. For more on how smart devices integrate into your home, see What is Home Automation and How Can It Benefit You in Hillcrest, CA?
Gathering Your Tools and Supplies
You’ll only need a few basic tools for most smart thermostat installations:
- Screwdriver (Phillips and flathead)
- Smartphone (for photographing existing wiring)
- Level (to ensure a straight installation)
- Wire labels or masking tape (for labeling wires before disconnecting)
- Needle-nose pliers (for handling wires)
- Drill (optional, for new mounting holes)
- Wall putty (optional, for patching wall imperfections)
Finding the Perfect Thermostat Location
Your thermostat’s location significantly impacts its performance. It acts as the brain of your HVAC system, so it needs an accurate temperature reading.
The ideal spot is on an interior wall in a central location like a main hallway or living area. The ideal height is 4-6 feet from the floor.
Avoid placing your thermostat:
- In direct sunlight, which can trick it into thinking the room is warmer than it is.
- Near drafts from windows or doors.
- Where air from heating or cooling vents blows directly on it.
- Near heat-generating appliances like TVs or lamps.
Proper placement prevents many common comfort and efficiency issues. Learn more about thermostat myths in Stop Believing These 5 Thermostat Myths Today in Carlsbad, CA.
The Complete Smart Thermostat Installation Process
This section provides a step-by-step guide for a safe and successful smart thermostat installation. Follow these instructions carefully to get your new device up and running.
Step 1: Power Down for Safety
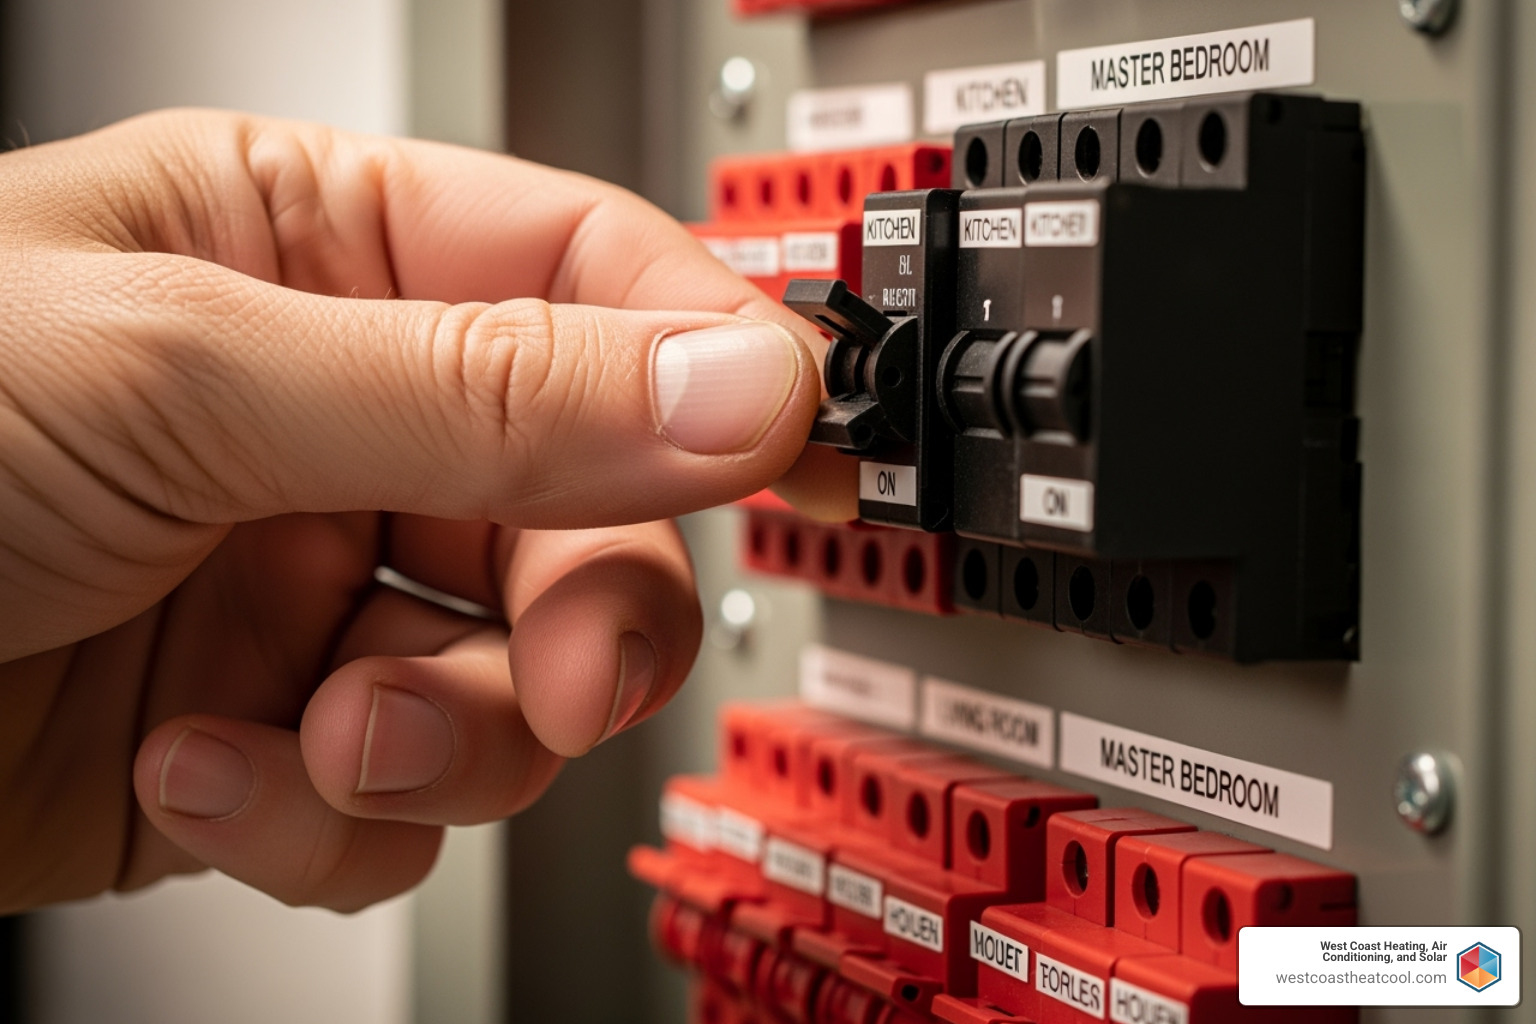
This is the most critical step for your safety. Go to your home’s circuit breaker panel (often in the garage, basement, or a utility room) and find the breaker for your HVAC system. It may be labeled “HVAC,” “Furnace,” or “AC.” Flip the breaker to the “off” position.
To confirm the power is off, return to your old thermostat and try to change the temperature. If the display is blank and the system is unresponsive, you can safely proceed.
Step 2: Remove Your Old Thermostat
With the power off, you can remove the old unit.
- Remove the faceplate: Most snap off, but some may have small screws.
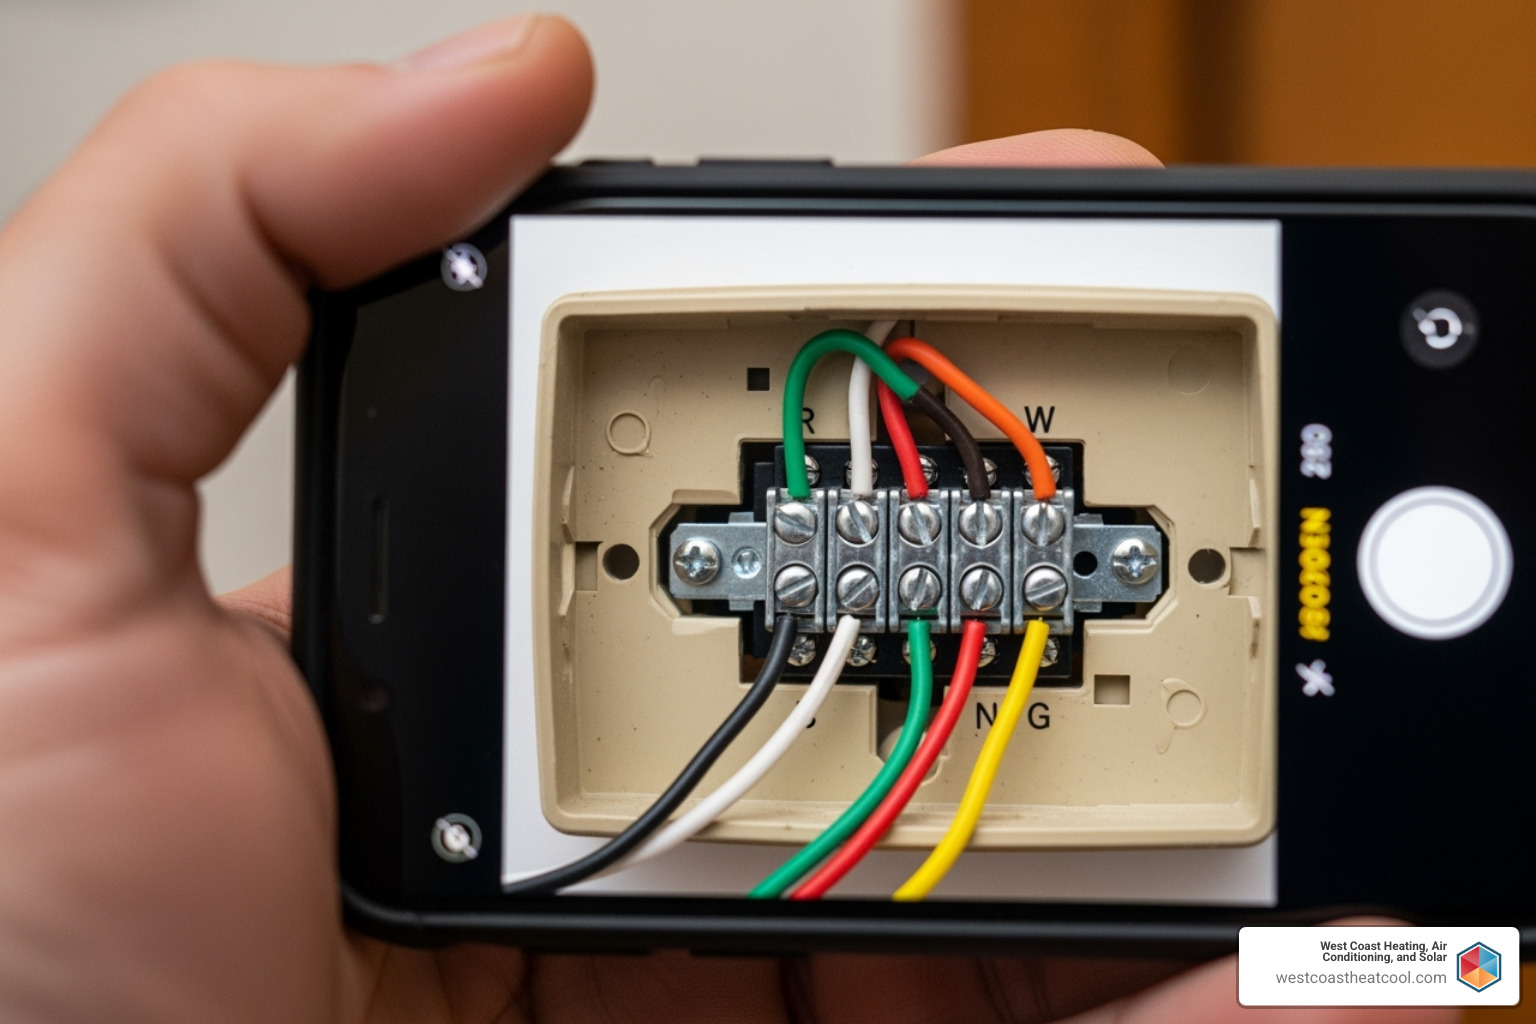
- Photograph the wiring: Take several clear photos showing which wire connects to which terminal letter. This is your guide for the new installation.
- Label the wires: Use the labels from your new thermostat kit or masking tape to label each wire with its corresponding terminal letter (e.g., “R,” “G,” “Y”). Label by the terminal, not the wire color, as colors are not standardized.
- Disconnect the wires: Carefully disconnect each labeled wire, ensuring they don’t fall back into the wall. You can wrap them around a pencil to keep them in place.
- Remove the old backplate: Unscrew the backplate from the wall.
Step 3: Understanding and Connecting the Wires
Using your photos and labels, connect the wires to the new thermostat’s backplate. Here’s a quick reference for common wires:
- R, Rh, or Rc: Power
- Y: Cooling (Air Conditioner)
- G: Fan
- W: Heating (Furnace)
- C (Common): Provides continuous power for smart features. This is crucial for most smart thermostats.
Connect each wire to the terminal with the matching letter. Ensure each wire is inserted securely; a gentle tug will confirm a solid connection. For more details on wiring, Google offers a guide on what wire names mean. To learn more about choosing the right device, read The Right Air Conditioning Thermostat for You.
Step 4: Mount the New Thermostat and Restore Power
Now, mount the new unit and power it up.
- Install the new backplate: Gently push excess wiring back into the wall. Use a level to position the backplate and secure it with the provided screws. Use wall anchors if drilling into drywall.
- Double-check connections: Before attaching the faceplate, give the wires one last check to ensure they are in the correct terminals and secure.
- Attach the new faceplate: Align the faceplate with the backplate and press gently until it clicks into place.
- Restore power: Go back to the circuit breaker and flip the HVAC breaker to the “on” position. Your new thermostat should power on.
Congratulations, you’ve completed the physical smart thermostat installation!
Final Setup and Troubleshooting
With the physical smart thermostat installation complete, the final steps are connecting to your network and learning how to troubleshoot common issues.
Connecting to Wi-Fi and Your Smartphone App
Your new thermostat will guide you through the initial setup with on-screen prompts. The key step is connecting to your home’s Wi-Fi network, which open ups its smart capabilities. Most thermostats require a 2.4GHz Wi-Fi connection, so ensure your router is broadcasting on this frequency.
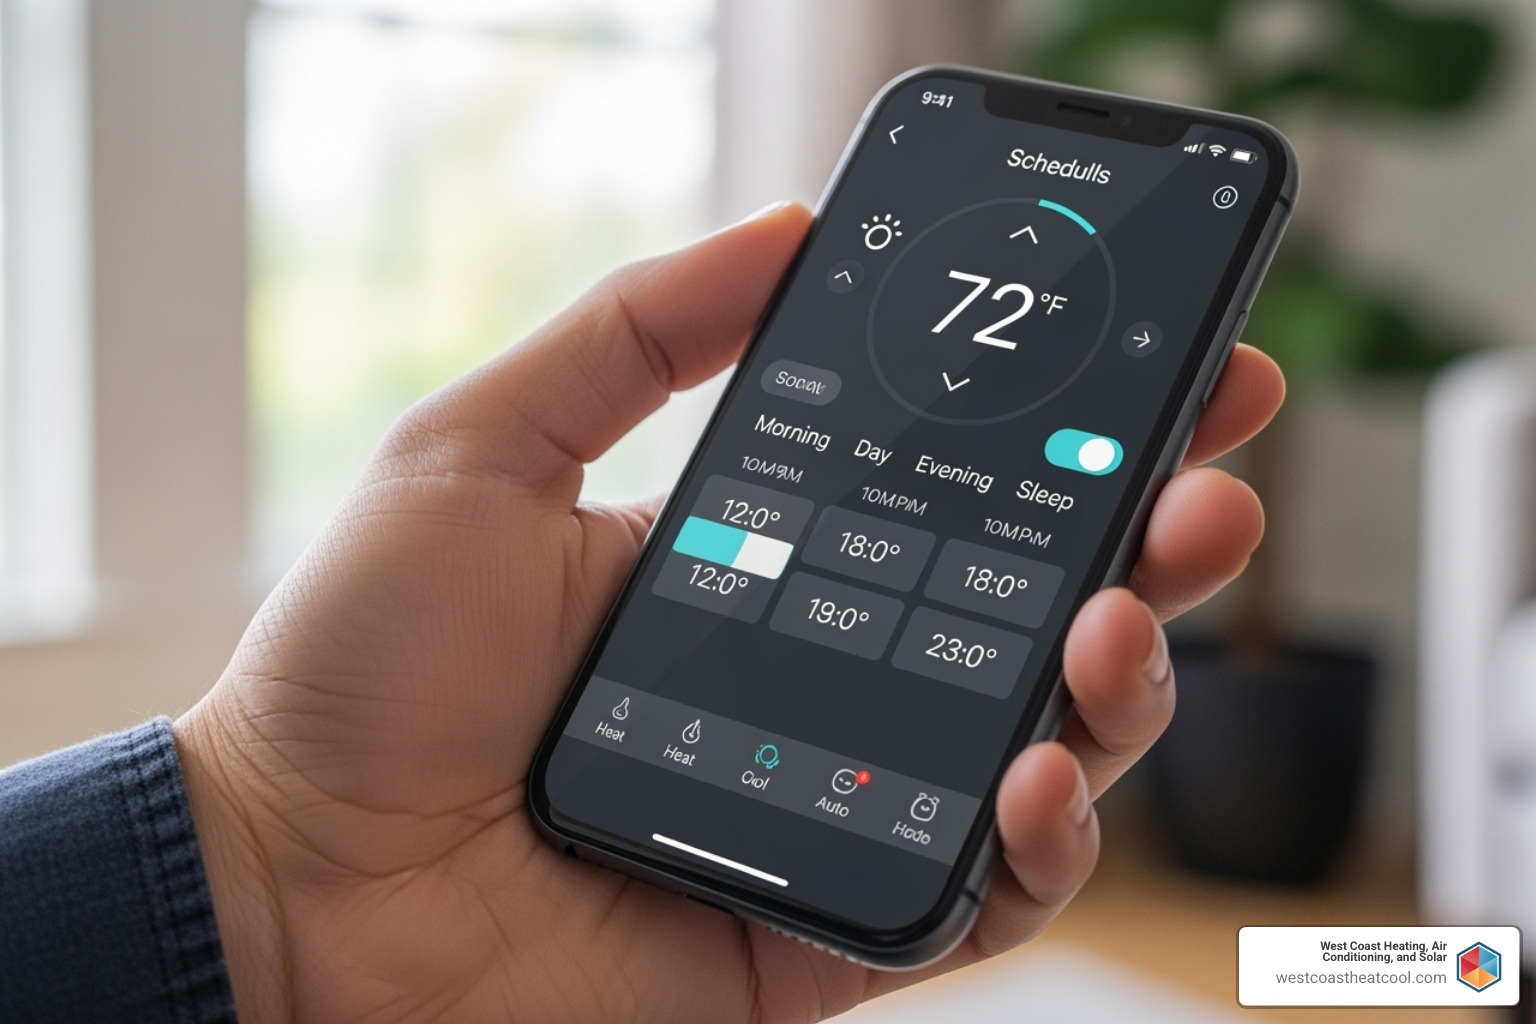
Next, download the companion smartphone app (e.g., Google Home, Ecobee). The thermostat will likely provide a QR code or instructions to find the correct app. Create an account and follow the prompts to link your thermostat. This app is your remote control for home comfort.
Once connected, explore the scheduling and learning features. You can set custom schedules or let the thermostat learn your habits. It uses sensors and algorithms to observe your patterns, automatically adjusting the temperature to save energy. Some models use geofencing to detect when you leave or return home, further optimizing performance. The app also provides energy usage reports to track your savings.
Common Smart Thermostat Installation Troubleshooting
If you encounter an issue, don’t panic. Most problems have simple solutions.
- Thermostat won’t power on: Check that the correct circuit breaker is on. Verify all wires are secure in their terminals. A missing C-wire or a blown low-voltage fuse in your furnace control board could also be the cause.
- Incorrect temperature readings: Ensure the thermostat isn’t in direct sunlight, near a draft, or close to a heat source like a vent or TV. Plug any drafts from the wall opening behind the unit.
- Wi-Fi connection issues: Make sure your thermostat is within your router’s range. Double-check the Wi-Fi password and confirm you’re connecting to a 2.4GHz network. Try restarting your router and thermostat.
- HVAC system doesn’t respond: This is almost always a wiring issue. Re-check your connections against the photo of your old wiring. Also, confirm in the settings that the thermostat is configured for your specific HVAC system type (e.g., conventional vs. heat pump).
If problems persist, it may signal a deeper issue with your HVAC system. Our article, 4 Signs Your Thermostat Needs to Be Replacing in Escondido, CA, can help you diagnose whether the problem is the thermostat or something more complex.
When to Call a Professional for Your Smart Thermostat Installation
While many smart thermostat installation projects are DIY-friendly, some situations require an expert to ensure safety and proper function. Knowing when to call a professional is a smart move.
Signs You Need an Expert for Smart Thermostat Installation
Consider calling a professional if you encounter any of the following:
- Complex wiring: If you see more than five wires or a configuration that doesn’t match the diagrams, you may have a multi-stage or dual-fuel system that requires expertise.
- High-voltage systems: If your thermostat has thick wires, wire nuts, or is marked with 110V/220V, it is a high-voltage system. Do not attempt a DIY installation; it is dangerous and requires a professional.
- No C-wire: If your system lacks a C-wire and you’re not comfortable installing a power adapter or running new wire, a technician can handle it safely.
- HVAC compatibility issues: If an online checker gives a confusing result or you have an older, non-standard system, an expert can determine the correct solution.
- You feel uncertain: If at any point you feel hesitant, trust your instinct. Your safety and the integrity of your HVAC system are paramount.
Proper installation protects your equipment. Learn more about why HVAC Maintenance is a Good Investment.
The Benefits of Professional Installation
Choosing a professional smart thermostat installation provides more than just convenience; it’s an investment in performance and safety.
- Safety: Certified technicians understand electrical systems and work safely, eliminating the risk of shock or damage.
- Correct Wiring Guaranteed: Professionals get the wiring right the first time, protecting your expensive HVAC equipment from damage and saving you from troubleshooting headaches.
- System Protection: An expert ensures the thermostat is correctly configured for your specific system, preventing costly damage like a blown control board.
- Peace of Mind: With a professional installation, you know the job is done correctly by experts who have served San Diego County since 1996. We ensure your system is optimized for performance and energy savings.
Ready for a professional installation that’s done right? Check out our Smart Thermostat Installation services.
Frequently Asked Questions about Smart Thermostats
Here are answers to common questions about smart thermostat installation and functionality.
How much can I save with a smart thermostat?
Most homeowners see average energy savings of 10-15% on heating and cooling bills. Since HVAC systems account for about half of a home’s energy use, these savings are significant. Smart thermostats achieve this by learning your schedule, automatically adjusting temperatures when you’re away, and providing detailed energy reports. These savings begin automatically after your smart thermostat installation is complete.
Will a smart thermostat work without Wi-Fi?
Yes. If your Wi-Fi goes down, your smart thermostat will still function as a basic thermostat. You can manually adjust the temperature on the device itself to control your heating and cooling. You will temporarily lose access to smart features like app control, voice commands, and automatic adjustments, but your core climate control will remain operational.
What should I do if my system doesn’t have a C-wire?
The C-wire (common wire) provides continuous 24V power to the thermostat, which is necessary for its smart features. If your system doesn’t have one, you have several options:
- Use a power extender kit or C-wire adapter, which often comes with the thermostat. This device is installed at your HVAC control panel.
- Check for an unused wire tucked in the wall that can be connected to the C-terminal on your furnace control board.
- Have a professional install a solution. A technician can safely run a new C-wire or install an adapter, ensuring your thermostat has the reliable power it needs.
Conclusion: Enjoy a Smarter, More Efficient Home
Completing your smart thermostat installation is a major step toward a more comfortable, convenient, and energy-efficient home. You now have remote control over your home’s climate and can look forward to seeing 10-15% savings on your utility bills as the device learns your routines and optimizes your HVAC usage.
While this guide empowers many homeowners to perform a DIY installation, some systems are more complex. If you encountered challenges, have a high-voltage system, or need a C-wire installed, professional help is the safest and most reliable option.
For homeowners throughout San Diego County, West Coast Heating, Air Conditioning, and Solar offers expert smart thermostat installation. Since 1996, we’ve provided customer-centric service, handling everything from simple upgrades to complex systems. We ensure your thermostat is perfectly configured for your HVAC system to maximize comfort and savings.
Whether you need a professional to handle the entire process or want an expert to check your DIY work, we are here to help. We offer comprehensive solutions, including financing and club memberships, to make your home upgrades affordable and worry-free.
Ready to experience the full benefits of smart climate control? Contact us today for expert HVAC repair and installation services in San Diego, CA. Your wallet will thank you for this smart investment.

